On a recent rainy weekend, my young daughter approached me with a cautiousness I immediately recognized as a sign that she was about to ask something she knew I wouldn’t like.“Mommy,” she said. “Can we try…making homemade slime?”
Slime! UGH!
I had only recently learned that making homemade slime had evolved from a niche internet fad to a popular mainstream activity…and I was less than thrilled. After all…slime is gross, messy…and well…it’s SLIME! Right?!
But as many of us know, it can be exceedingly difficult to say “no” when you know that a “yes” will provide the instant reward of a gigantic smile.
So…this is how it came about that I found myself making homemade slime (“with glitter, mommy!”) on an afternoon when I REALLY should have been vacuuming or catching up on laundry. :-/
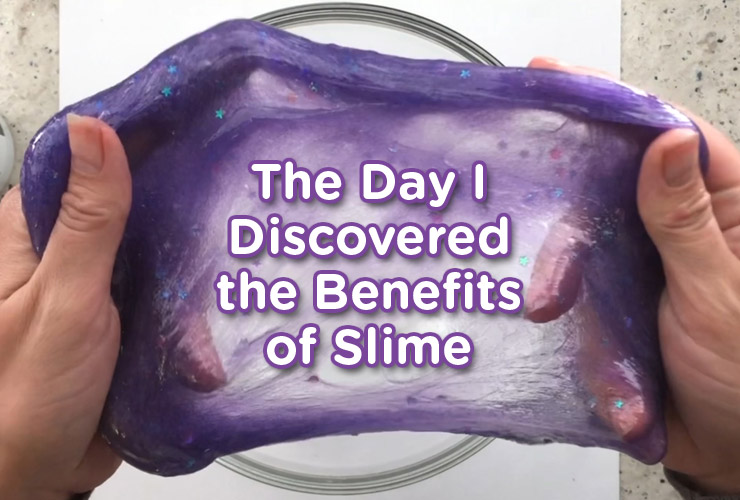
We carefully gathered and mixed the various ingredients, and after a few minutes of kneading—and an extra shot of contact lens solution for additional firmness—we had some pretty respectable slime (if I do say so myself!)
As I watched my daughter joyfully shape and mold our newly created slime, I had several thoughts about making homemade slime:
- Making homemade slime is super easy.
- Slime is not actually all that slimy…at least not using the recipe we followed.
- My greatest epiphany–slime is an AMAZING and super cost-effective tool for Occupational Therapy!
Wait…what? Making homemade slime as a tool to use in Occupational Therapy lessons?! How exactly does THAT work?
Essentially, it’s replacing a tried and true material (like clay) with the infinitely more fun (and potentially more “blingy”) slime. And if you create the slime together, that makes it even more impactful when incorporated into your lesson.
Here are a few activities to try with slime in your Occupational Therapy session:
- Slime Shapes & Scissor Skills: Place the slime on a hard surface, and use your hands to flatten the slime out. Next, use a cookie-cutter of your choice to create shapes. Don’t have cookie cutters laying around? You can also roll out the slime into an “S” shape and use scissors to cut it into pieces. Using scissors during this activity can aid in both strengthening bilateral coordination, and strengthening scissor skills.
- Buttons, Beads, & Beans: Add buttons, beads, or uncooked beans to your slime mixture to promote the pencil tripod grasp, and provide proprioceptive input. Just push the objects into the slime and knead with your hands. Add a fun challenge by having the child remove the objects with tweezers!
- Pat-a-Cake: This one is best for your younger students: simply creating a circle of slime by patting it between both hands. The motion of patting the slime between both hands promotes bilateral coordination. Add extra fun by imagination play of singing “Pat-a-Cake” and acting out the song. The use of touch and using the index finger to draw the beginning letter of the child’s name is a part of finger isolation, which is key for dexterity development
By now you might be asking: “How do I make this awesome slime?”
There are several recipes, but here’s the one we used. It is borax-free, easy to make, and simple to clean up.
Ingredients:
- Elmer’s Clear Glue 4oz
- Baking Soda ½ tsp
- Food Coloring (1 or 2 drops)
- Glitter (optional)
- Contact Solution 1-2 TBS
- Baby Oil (a few drops)
[video_popup url=”https://youtu.be/9yBLFd2WbDo” text=”If you’re a visual person (like I am!) you’ll want to check out this slime-making video we created using the ingredients listed above. Its super-fun, and (we hope!) incredibly helpful.” auto=”yes”]
Directions we followed:
Use a medium-sized bowl for your mixture. Pour the glue into a bowl and mix in the baking soda until it is combined thoroughly. Add a few drops of food coloring and glitter of your choice and continue to stir. Slowly, add the contact solution and begin stirring again. This time the slime should stick more to the spatula and less to the bowl. Take the slime out of the bowl and knead, knead, knead! Add more contact solution if you would like a firmer slime consistency. If the mixture is too sticky, add a few small drops of baby oil. To store the slime, you can use plastic Tupperware containers or plastic sandwich bags. Place the stored slime in a cool, dry place until your next session.
We would LOVE to know making homemade slime affected your therapy session! Did you have fun creating it? Did you try any of the Occupational Therapy activities included above? Please share in the comments below!